Dotty Dot Cake

20120501-100935.jpg

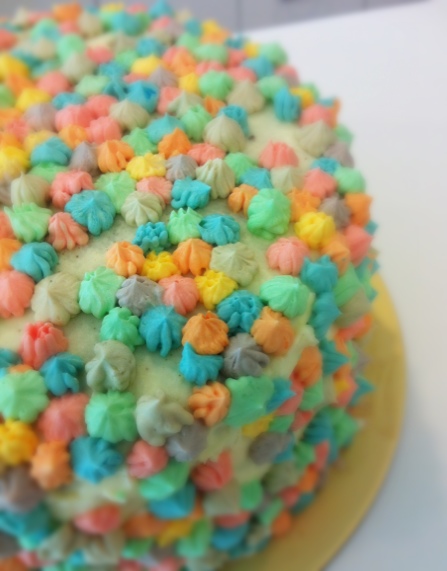
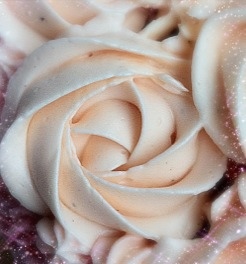
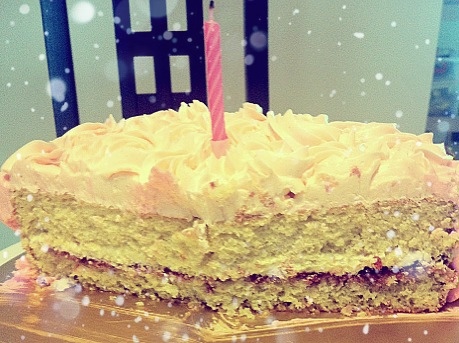
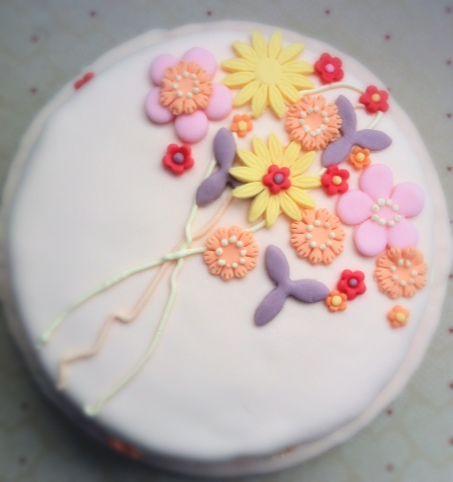
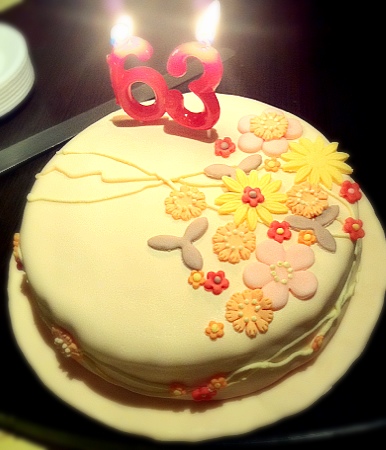
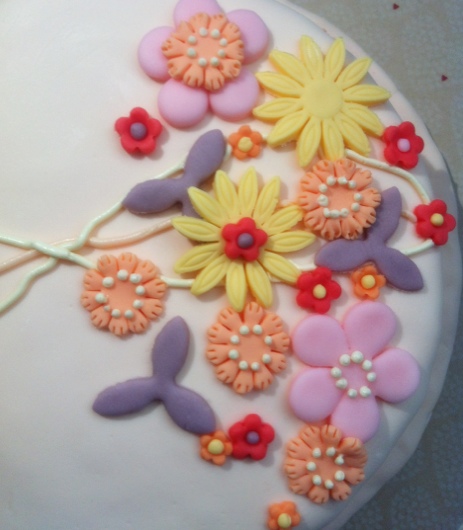
In my office, we have a nice little tradition to gather once a month to celebrate the birthdays of team members in that month. This is April’s team cake – Dotty Dot Cake. In the mood for colours.

It’s a six layer chocolate cake with white chocolate whipped cream and lemon curd buttercream.

Recipe adapted from Baking: From My Home to Yours
Makes 2 x 9 inch round cake

Ingredients:
For cocoa buttermilk cake:
(I increased this by 1.5 times to get 3 cakes/6layers, and used 8inch pans instead. You will get a taller cake)
250g all purpose flour
60g unsweetened cocoa powder
1/2 tsp baking powder
1/2 tsp baking soda
1/2 tsp salt
226g unsalted butter, softened
150g sugar
2 large eggs
2 large egg yolks
1 tsp vanilla extract
1 cup buttermilk
110g bittersweet chocolate, melted and cooled.

For white chocolate whipped cream:
170g premium quality white chocolate
1 1/2 cups heavy cream

For lemon curd cream:
Refer to my earlier post

5 cups italian meringue buttercream via Whisk Kid.

Method:
For the cake:
1. Preheat oven at 175C. Butter and flour 2 8inch cake pans. Line bottom with parchment paper.
2. Sift together flour, cocoa, baking powder, baking soda and salt.
3. Beat the butter until soft and creamy. Add sugar and beat till throughly blended into the butter.
4. Add the eggs one at a time, then the yolks one by one. Beating well after each addition and scrape down the sides and bottom of the bowl as needed. Beat in vanilla.
5. Add the dry ingredients alternatively with the buttermilk; Add dry ingredient in 3 portions and buttermilk in 2; mix only until each new batch is blended into the batter.
6. Fold the melted chocolate into the batter with a spatula.
7. Divide the batter between the cake pans and bake for 26-30 mins.
8. When done, let the pans cooled for 5 mins on the rack before turning cakes out to cool completely.

For white chocolate whipped cream:
1. Melt white chocolate in a bowl over simmering water.
2. Boil 1/2 cup of heavy cream.
3. When the chocolate is melted, remove from simmering water. Pour the hot cream into the chocolate and let it sit for a min. Stir chocolate gently until it is smooth. Let mixture cool till room temperature.
4. Whip 1 cup of cream till soft peaks. Add cooled chocolate all at once and whip till firm peaks.
5. Turn cream into a bowl and refrigerate for at least 2 hours, up to 6 hours.

For lemon curd cream:
Refer to my previous post

Assemble the cake:
1. Tint the buttercream in any colour you fancy
2. Divide each layer into half.
3. Fill each layer with white chocolate whipped cream and lemon curd cream alternatively.
4. Crumb-coat the cake with a layer of plain buttercream. Refrigerate till firm.
5. Frost the cake with more buttercream. It doesn’t have to be very smooth as most part will be cover with the buttercream dots
6. Fill piping bag with coloured buttercream and pipe away. I have used a Wilton 233 tip.

Shared at Lady Behind the Curtain on 03 May 2012.

Shortbread, Sablé, Butter Cookie

Why are there so many names for a cookie? Probably because people in different parts of the world love it so much to give it names. What would I call it? Maybe “it’s good but watch your waistline” cookie or “I’m pretending to be a plain Jane but I kick-ass” cookie.

You get the idea. I love them as much as I hate them. Such a dilemma in a cookie. So, I do try to workout 3-4 times a week. Hit the gym, run on the treadmill or do a spinning class (Seriously tough class, I mainly just hate it). With every cookie I want to eat, I would envisage myself running for another 10mins …. yes, yes, I know it doesn’t equate, you have to run a lot longer than that, but everyone needs a little motivation to run, right? Motivation in the form of dream-up image of a cookie dangleing in front of your treadmill.

I made some cookies over the weekend and I did gym 4 times this week.

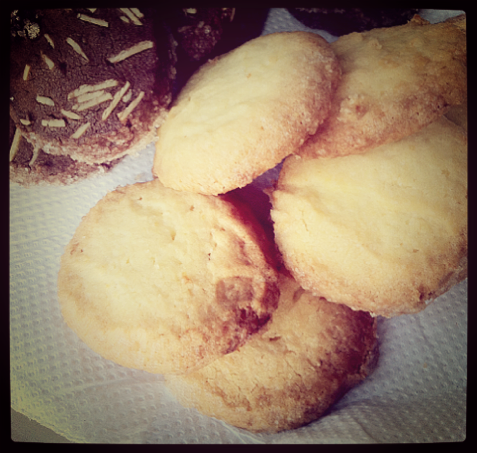
Lemon Sablé is adapted from one of my favourite cookbook, Baking: From My Home to Yours. It is a great recipe but I messed up a bit here. The cookies did not manage to hold their shape. My butter was too soft, i reasoned.

Ingredients:
226g unslated butter, softened at room temperature
50g sugar
15g icing sugar
1/2 tsp salt
2 large egg yolks
250g all-purpose flour
Zest from one lemon
Granulated sugar for dusting

Method:
1. Rub the zest into the sugar until the sugar is moist. Beat the butter until smooth and very creamy. Add the sugars, lemon zest and salt, and beat until well blended. Aim for smooth and velvety, NOT fluffy and airy
2. Blend in the yolks.
3. Fold in the flour using spatula (which is what I did) or mix in the flour with the mixer at lowest speed until the flour just disappear.
4. Divide the mixture into 2-3 portions and shape each portion into a log.
5. Wrap the logs with plastic wrap and chill for at least 3 hours. They can keep in the fridge for up to 3 days or frozen for 2 months.
6. Preheat the oven to 175C. Line baking sheet with parchment.
7. Remove the logs from fridge and sprinkle the surface with sugar. You can brush egg yolk on the surface to act as glue for the sugar, but I think the sugars can stick on without the yolks.
8. Cut and place the rounds onto the baking sheet, leaving an inch of space between them.
9. Bake for 17-20mins. When done, the cookies will be light brown on the bottom, lightly golden around the edges and pale on top. Remove from oven and leave to cool on a wire rack.

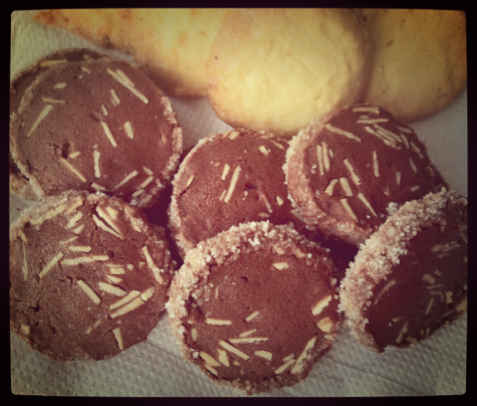
Chocolate almond cookies is adapted from another favourite book, Okashi Treats. I have been baking a lot with her recipes actually. Clean layout, clear instructions and pretty pictures. She also seems to have a preference towards top/pastry flour which produce lighter baked goods, which I like.

Ingredients:
40g sliced and blanched almonds
150g top flour
20g cocoa powder
120g unsalted butter, softened at room temperature
70g icing sugar
A pinch of salt
1 egg yolk
Granulated sugar for dusting

Method:
1. Sift flour and cocoa powder together
2. Beat butter, icing sugar and salt until smooth and velvety.
3. Blend in egg yolk
4. Fold in the flour mixture using spatula. Add the almond silvers and fold through
5. Divide the mixture into 2 portions and shape each portion into a log.
6. Wrap the logs with plastic wrap and chill for at least 15 mins.
7. Preheat the oven to 160C. Line baking sheet with parchment.
8. Remove the logs from fridge, slice the dough and then roll the sides of the cookies in sugar. (This is different from the instructions above. This method works better for me)
9. Place the rounds onto the baking sheet.
10. Bake for 17-20mins. Remove from oven and leave to cool on a wire rack.

Happy Owls

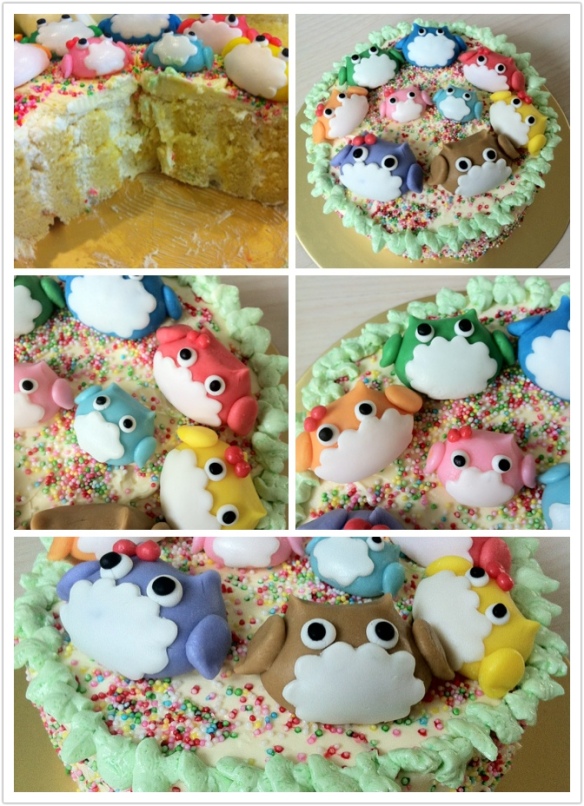
Once a upon a time, there live a clan of happy, cherubic owls. Granpa owl and granma owl have two sons and a daughter. The sons married and produced a baby-girl owl and a baby-boy owl respectively.

Granpa owl and granma owl like to bicker with each other, just like any old-loving couple. Elder-son owl and elder-wifey owl have their hands full with the energetic baby-boy owl. Younger-son owl and younger-wifey owl love to travel and have brought baby-girl owl to many far-flung forests. Daughter-owl is at the prime of her life and doing a lot of fun things.

The owls like to eat rainbow seeds and they have gained wonderous bright coats of fur. Meet the owls.

This hardly looks like a befitting cake for male senior citizen. Well it’s really hard to come up with a cool decorated cake for guy…. So, after sleepless nights, I came up with a family spin to this one, with all family members represented by the alter-ego owls. 

The cake is done up in vertical layers with lemon curd cream and sweetened whipped cream.

P.S. No owls are harm in the cake cutting process.

20120424-105147.jpg

Recipe adapted from Okashi Treats
Makes a 6 inch cake

Ingredients
For the sponge:
1 egg
3 egg yolks
1 tsp lemon extract
35g unsalted butter
60g cake flour
60g fresh whole milk

3 egg whites
85 g castor sugar

For the sweetened whipped cream:
100g whipping cream
1 tbsp castor sugar

For the lemon curd cream:
Lemon curd and buttercream

Method
For the sponge:
1. Preheat oven to 180C. Line a 28cm X 28cm flat square pan with parchment paper, with some paper over the edge where you can use to lift the cake out later.
2. Sift flour twice and set aside. Mix egg, egg yolks and lemon extract and beat lightly to mix.
3. Melt butter over low heat. Add shifted flour and cook through.
4. Transfer the mixture into a bowl and add egg mixture a little at a time. Mix into a smooth batter. Add milk and mix well.
5. Strain batter and set aside. (I skip this step since the batter looks smooth enough to me as it is and I’m lazy.)
6. In another bowl, whisk the egg whites till foamy. Add half the sugar and continue beating till soft peak. Add the rest of sugar and beat till stiff peak.
7. Add one-third of the meringue to the egg mixture and fold in.
8. Add remaining meringue and continue folding.
9. Pour the batter into the pan and spread evenly with a spatula.
10. Bake for 20 min. When done, take the cake out of the pan using the parchment paper. leave to cool on the rack.
A cool pictorial for the sponge here

For the sweetened whipped cream:
1. Whip cream and sugar in a chilled mixing bowl until stiff peaks.

For the lemon curd cream:
1. My lemon curd is based loosely on this recipe. With the sugar and lemon juice adjusted to individual taste. I skip the butter (step 3 in the link) as the curd will be mix in with buttercream. I make a batch of these and keep them in the fridge. Always handy.
2. For the buttercream, I use a normal italian meringue buttercream. Very good pictorial from Whisk Kid.
3. Mix the cooled lemon curd and buttercream. No measurement here, just go by taste. If you prefer more lemony, add more curd. more creamy, add more buttercream.

Assemble the cake:
1. Place sponge onto clean surface. Peel off the parchment paper from the sponge. Peel off the brown skin on top as well. Cut into 4 long rectangle pieces. Take care to have equal width. Measuring with a ruler will be good.
2. Spread lemon curd cream onto the slices. Then spread the whipped cream.
3. Roll the first rectangle as per normal swiss roll. Put it upright on it’s cut edge and place it onto a 8 inch cake circle.
4. Take the second piece and connect the short side to the edge of the first rolled up rectangle, cream side in. Continue in similar fashion till all slices are done. Slice off the edge of the last slice at an angle, so that the cake will look round. Swipe off any excess cream from the top with a spatula. Put into the freezer to set.
5. Cover the cake with buttercream and decorate as you like.

I’m really tired now. If it seems tedious, it is. One advice is try to prepare as much as possible in advance. The sponge is best freshly made so you can’t really make this in advance, but you can do the decorations, lemon curd, buttercream in advance. I hand modelled the decorations using gum paste.

Shared at Lady Behind the Curtain, Today’s Creative Blog on 25 Apr 2012.
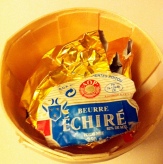
Some say the best butter in the world

From here and here, some say it’s Echire.

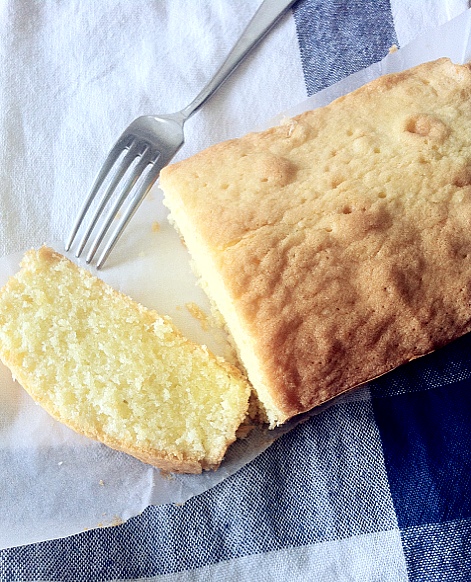
One of the first few things I learnt to bake is the classic butter pound cake. Since I started out baking roughly near end of 2011, this is something I’m still trying to make better, like almost all the other stuff I have made so far.

I have been on a mission to get the highly aclaimed butter, hopefully better butter = awesome cake. Well, of course I have to improve on my technique as well and better control my oven. So many, many considersations on the road to baking enlightenment, but I diverge…

Back to the topic of butter, according to Dorie Greenspan in her book Baking: From My Home to Yours, which I own, amazing book I must say, the butter she recommended was Echire and Vermont. Ha, the staff at the gorment store must thought I’m a crazy lady. I was staring really intensely at the butter for a good minute, shocked to find the Echire within my reach.

And yes, I made a pound cake with Echire, but not before I bake a trial cake using the lesser, un-named, common variety butter. Have to be careful not to ruin my precious.

20120419-155947.jpg
Like any serious blogger who plan and construct their posts properly, they probably would have shot a decent picture of the butter since it’s the main topic. Yours truly did this shot as an afterthought, just in case there are any sceptics “did she really use that butter?” out there. Ok, I really DID use the butter.

Onto the baking process now that we get the doubts out of the way. First up, during the beating of butter and sugar phase, Echire is a lot more stable and I say, whippable, than the common butter, even though it has indeed been softened at room-temperate. It can hold much more air, and the mixture seemed to be fluffier when beating completed. Followed by the usual addition of eggs and more beating. Usual, yeah… My heart almost seized when I saw some curdling happening in the bowl. The eggs must be too big! Or could it be overbeating of eggs that cause the separation? Someone enlighten me, please!? Anyhow, I stopped immediately, and started to fold the flour in manually. It looked a lot better and smoothed out with the flour mixed in. Nonetheless, my heart was still pounding wildly, and I started feeling increasingly depressed. Anyhow, time to get the cake baked.

20120419-150357.jpg

20120419-150624.jpg

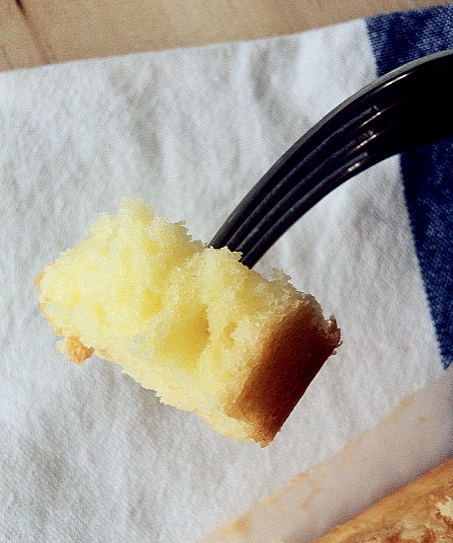
Tastewise, the cake is marvelous! It is wonderfully light and has an almost delicate crumb (I use top flour). The frangance… woh… the buttery fragance is intoxicating. It is so different from all the greasy butter cakes I had before. Oh, I used a glass dish-pan thing to bake the cake. Look at how beautiful the colour is, and the sides of the cakes are not dry and hard at all. I love it!

Blueberry Crumble Muffins

Crumble, crumbled, crumbling down…
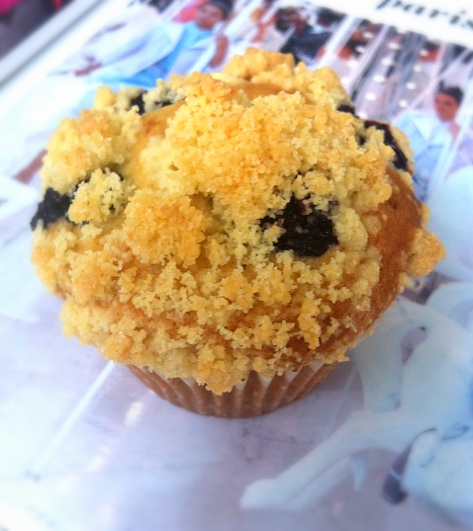
20120411-155857.jpg
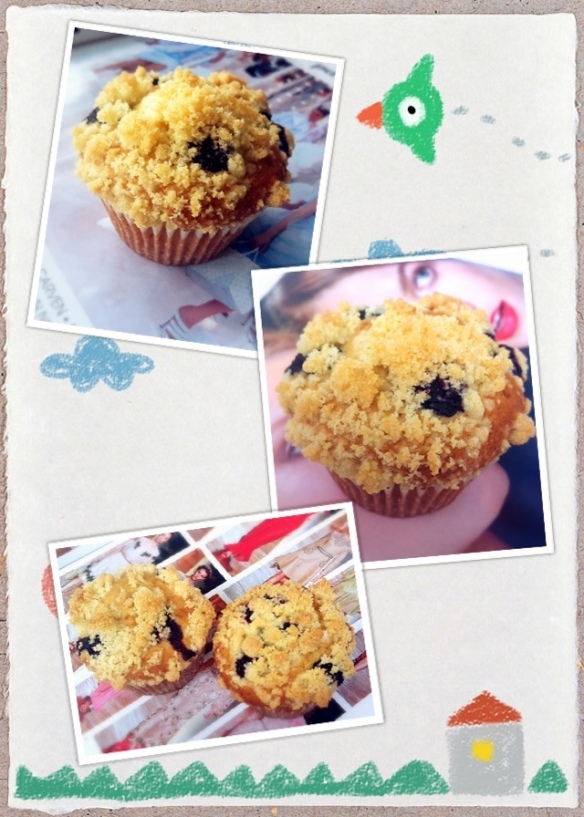
This sweet topping is so easy to make and very addictive. I think I should have less of the muffins and double up the crumbs next time. The muffins aren’t really like the usual kind, they are more like like cupcakes, with all the beating of butter, sugar and eggs. They should really be called blueberry crumble cupcakes. The blueberries are quite sour by themselves. Major disappointment as I picked them up from the organic section and meant them as nutritional snacks for son. Oh well, mixing them into butter and sugars helped.

Recipe adapted from Okashi Treats
makes 12 regular muffins

Ingredients:
For the crumble toppings:
40g cold unsalted butter
40g castor sugar
40g top flour, shifted
20g ground almonds

For the muffins:
240g top flour
2 tsp baking powder
200g fresh blueberries
100g unsalted butter, softened
80g brown sugar
60g castor sugar
2 eggs
120g cold fresh milk

Method:
1. Make crumble topping. Combine all ingredients in a bowl and mix with fingertips until mixture resembles coarse breadcrumbs. Refrigerate until needed.
2. Preheat oven to 180C. Line 12-hole muffin tray with paper case. Sift flour and baking powder together. Set aside 48 blueberries.
3. Beat butter until soft and creamy. Add both sugars and beat until mixture is light and fluffy. Add eggs, one at a time and beat until well combined after each addition.
4. Add 1/3 flour and fold with spatula. Add half the milk and continue to fold batter gently. Fold in another 1/3 of flour, followed by the remaining milk. Add remaining flour and fold through but do not over-mix. You can use the electric mixer for mixing in flour and milk, just guard against over-mixing. Add remaining blueberries and fold in gently.
5. Spoon batter into cases until about 3/4 full. Top each muffin with 4 blueberries, then sprinkle crumble topping over. Bake for 25-30 mins.
6. Leave muffins to cool on a wire rack.

20120411-172749.jpg

Updates: I’m joining Black Cats Original Tea party with this post

blackcatoriginals

Cupcakes – Princess

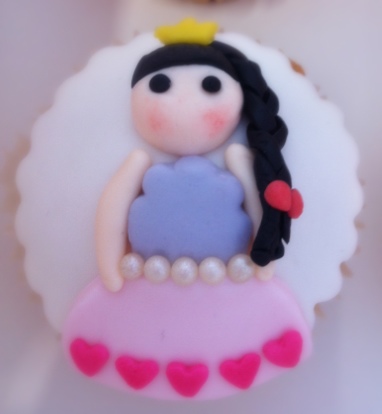
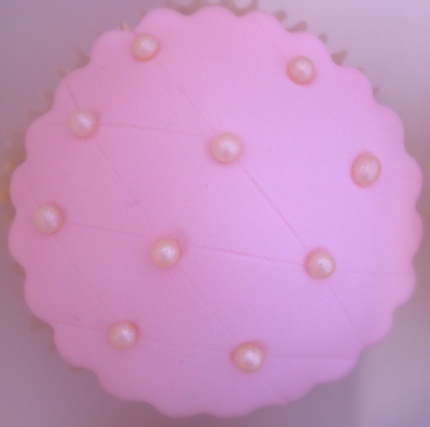
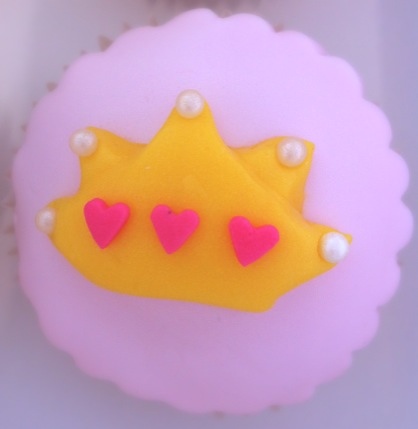
Little girls hope to be princesses and most women like to be treated like one.

This box of cupcakes is a present for a 4 year-old girl. She had an amazing princess-themed party where she is dressed as Snow White. In addition, her parents engaged a pretty adult model, also dressed as Snow White, to play games with the little ones. It’s so lovely.

This is my first figurine. I hoped I had more time to work on it, but we were already late for the party… let’s hope there is another princess birthday coming up, then I can try it again.
20120326-145805.jpg

20120326-145817.jpg

20120326-145825.jpg

A cartoon-y carriage
20120326-145811.jpg

All together now…
20120326-145832.jpg

Cream Puffs

Golden Puffs
20120308-004054.jpg

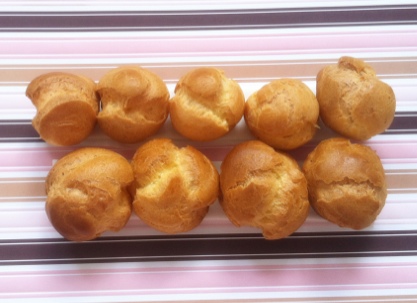
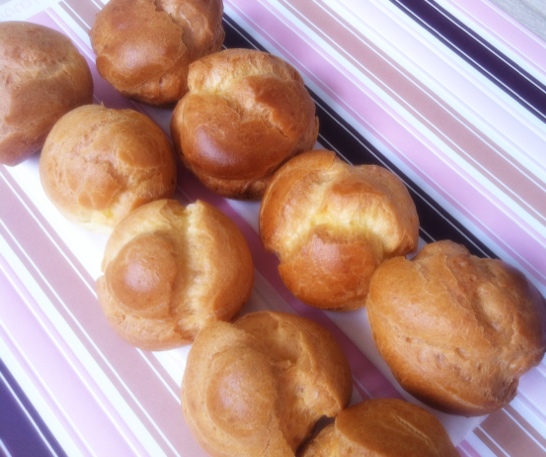
Finally, I succeeded with the choux pastry *big smiling face* This is my third try, following the recipe from “okashi”. I added way more egg/liquid than what was called for in the recipe till I get the right consistency. Pity the previous batches that got thrown away. That’s one down in the list of bakies I want to make.

20120308-004100.jpg

Rose Cake

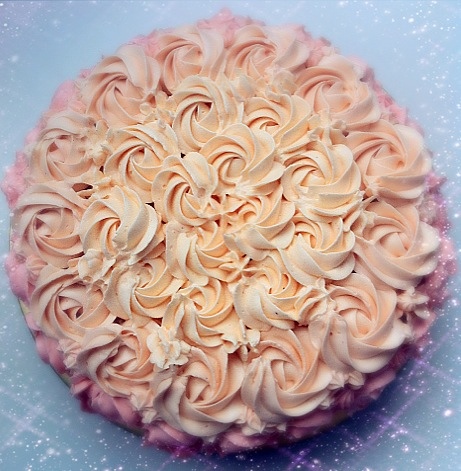
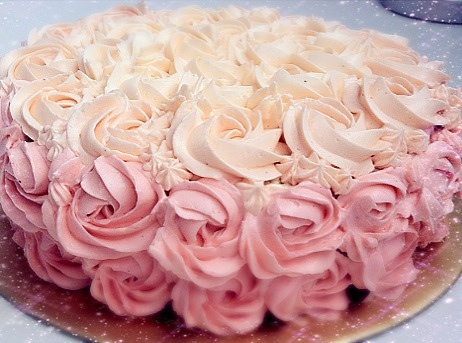
There’s two birthdays in the family for March, mother-in-law and sister. For my sister birthday, I’ve made a cake decorated with swiss meringue buttercream roses. Revision for my piping. I also tried to do colour graduation. Ha ha… Lesson learnt: Should prepare the different coloured cream is bowls first in order to achieve better graduation. Rather than mixing along as I finished piping one layer…

The cake is a basic genoise sponge cake with raspberry jam and vanilla swiss meringue buttercream. Did not soak the sponge in syrup…opps… very dry. Luckily, there’s the buttercream to counteract.

The cake
20120311-142031.jpg

Sideview
20120311-142038.jpg

Closeup
20120311-142044.jpg

Half eaten 😀
20120311-142050.jpg

Peach Flowers Cake

Have not been posting for a long long time… didn’t mean to neglect the blog, but was just a tad busy. I’m still baking lots, at least 1 per week, and buying eggs at alarming speed! I use almost a tray of eggs (that’s 30) in slightly over one week. Goodness!

So over the weekend, the family celebrated my mother-in-law’s birthday. I wanted to create a cake that is elegant yet simple. The base peach colour turned out in an exact shade I’m very happy with. The flowers colour are pretty co-ordinated as well. However, I do need to improve on my piping skill. The lines surrounding the cake did not turn out smooth…

The cake
20120308-003926.jpg

A little close-up
20120308-003940.jpg

In action
20120308-003934.jpg

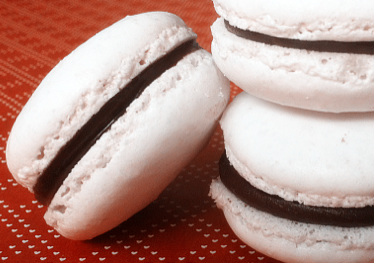
French Macarons

I’m getting there… to bake the delicate macarons. It has been a bumpy road with every conceivable sources of failure. But… I’m getting there. It’s not perfect yet. There are still cracks in some batches, and it’s slightly too sweet. I’m getting there…

Basic Macaron Shells

Ingredients

4 ounces (115g) almond flour
8 ounces (230g) powdered sugar
5 ounces egg whites (144g)
2 1/2 ounce (72g) sugar
2 tsp vanilla extract
1/2 tsp (2g) salt

Method:

  1. Preheat oven to 150C.
  2. Sift together almond flour and icing sugar
  3. Put egg whites, sugar and salt in the bowl of a stand mixer.
  4. Beat egg white mixture on high till stiff.
  5. Add in almond flour/sugar mix. Fold the mixture into egg white.
  6. Pipe the mixture on to baking sheet
  7. Bake for around 18 mins depending on your oven.

The shells can be filled with a variety of filling, from chocolate, lemon curd, to different flavours of buttercream. Here I filled it with a simple chocolate ganache.