Why are there so many names for a cookie? Probably because people in different parts of the world love it so much to give it names. What would I call it? Maybe “it’s good but watch your waistline” cookie or “I’m pretending to be a plain Jane but I kick-ass” cookie.
You get the idea. I love them as much as I hate them. Such a dilemma in a cookie. So, I do try to workout 3-4 times a week. Hit the gym, run on the treadmill or do a spinning class (Seriously tough class, I mainly just hate it). With every cookie I want to eat, I would envisage myself running for another 10mins …. yes, yes, I know it doesn’t equate, you have to run a lot longer than that, but everyone needs a little motivation to run, right? Motivation in the form of dream-up image of a cookie dangleing in front of your treadmill.
I made some cookies over the weekend and I did gym 4 times this week.

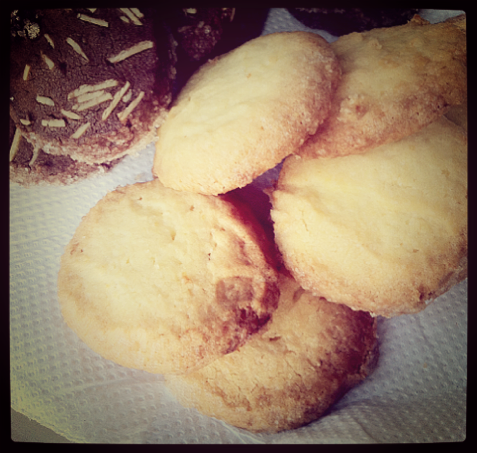
Lemon Sablé is adapted from one of my favourite cookbook, Baking: From My Home to Yours. It is a great recipe but I messed up a bit here. The cookies did not manage to hold their shape. My butter was too soft, i reasoned.
Ingredients:
226g unslated butter, softened at room temperature
50g sugar
15g icing sugar
1/2 tsp salt
2 large egg yolks
250g all-purpose flour
Zest from one lemon
Granulated sugar for dusting
Method:
1. Rub the zest into the sugar until the sugar is moist. Beat the butter until smooth and very creamy. Add the sugars, lemon zest and salt, and beat until well blended. Aim for smooth and velvety, NOT fluffy and airy
2. Blend in the yolks.
3. Fold in the flour using spatula (which is what I did) or mix in the flour with the mixer at lowest speed until the flour just disappear.
4. Divide the mixture into 2-3 portions and shape each portion into a log.
5. Wrap the logs with plastic wrap and chill for at least 3 hours. They can keep in the fridge for up to 3 days or frozen for 2 months.
6. Preheat the oven to 175C. Line baking sheet with parchment.
7. Remove the logs from fridge and sprinkle the surface with sugar. You can brush egg yolk on the surface to act as glue for the sugar, but I think the sugars can stick on without the yolks.
8. Cut and place the rounds onto the baking sheet, leaving an inch of space between them.
9. Bake for 17-20mins. When done, the cookies will be light brown on the bottom, lightly golden around the edges and pale on top. Remove from oven and leave to cool on a wire rack.
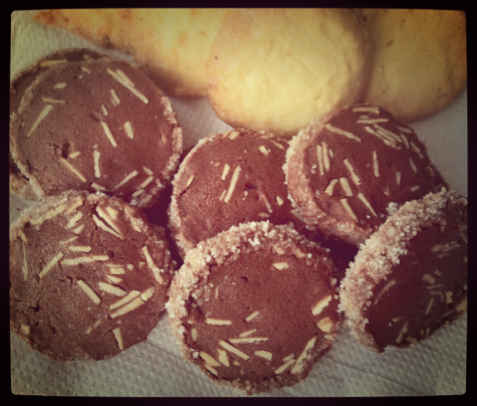
Chocolate almond cookies is adapted from another favourite book, Okashi Treats. I have been baking a lot with her recipes actually. Clean layout, clear instructions and pretty pictures. She also seems to have a preference towards top/pastry flour which produce lighter baked goods, which I like.
Ingredients:
40g sliced and blanched almonds
150g top flour
20g cocoa powder
120g unsalted butter, softened at room temperature
70g icing sugar
A pinch of salt
1 egg yolk
Granulated sugar for dusting
Method:
1. Sift flour and cocoa powder together
2. Beat butter, icing sugar and salt until smooth and velvety.
3. Blend in egg yolk
4. Fold in the flour mixture using spatula. Add the almond silvers and fold through
5. Divide the mixture into 2 portions and shape each portion into a log.
6. Wrap the logs with plastic wrap and chill for at least 15 mins.
7. Preheat the oven to 160C. Line baking sheet with parchment.
8. Remove the logs from fridge, slice the dough and then roll the sides of the cookies in sugar. (This is different from the instructions above. This method works better for me)
9. Place the rounds onto the baking sheet.
10. Bake for 17-20mins. Remove from oven and leave to cool on a wire rack.

